
I really enjoy growing and saving herbs for the winter and this week I sun-dried a bunch. While stripping the herbs from their stems with my fingers, as I have always done, I thought – there must be a better way. And, sure enough, herb strippers are a thing. But rather than buy one I thought I would make one. Here it is…
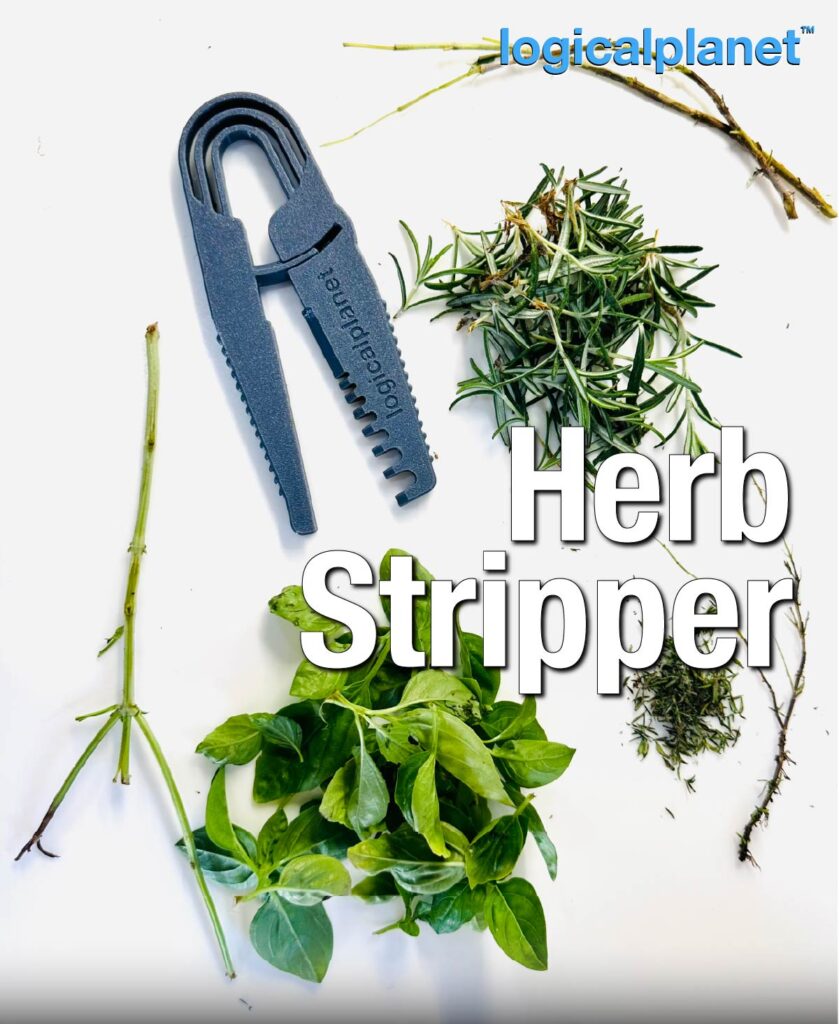
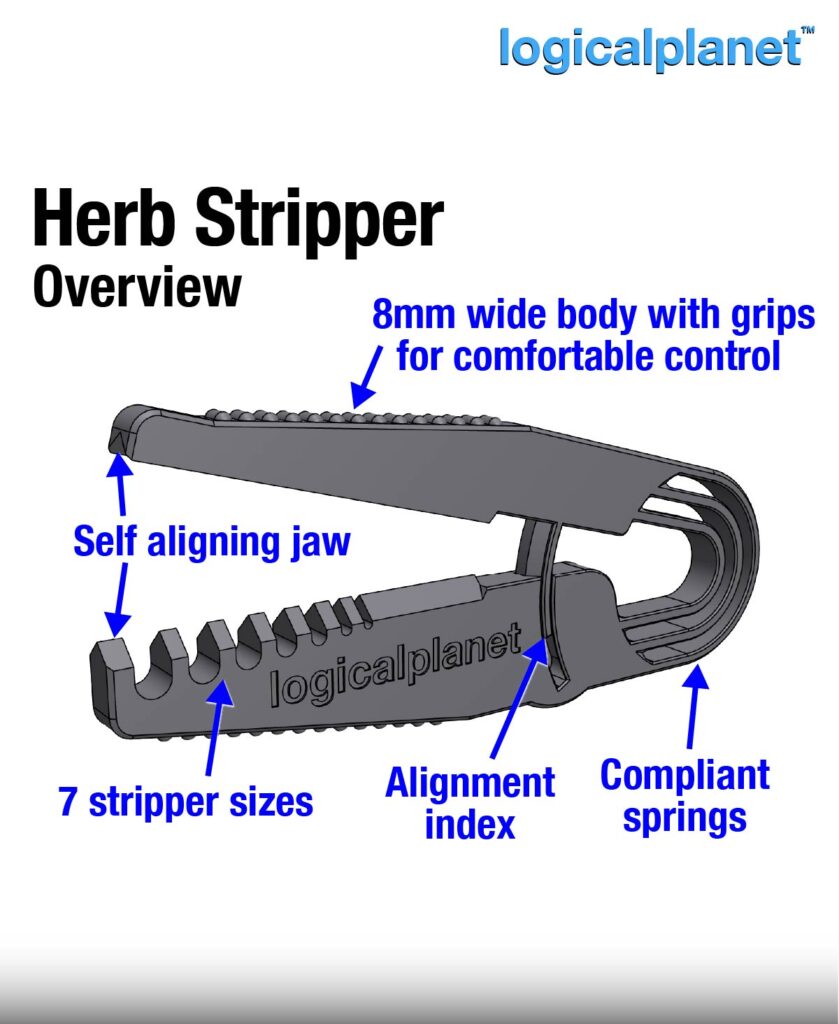
I reviewed a bunch of them out there in the market and tried to improve upon them. That may be subjective but I find this one to work extremely well. Simply lay a stem into the stripper using the slot closest to the size of the stem, squeeze closed the stripper, and pull the stem. So much better than using your finger when doing a large volume of plants.
Printing
This product was designed for a 0.4mm nozzle, a 0.2mm layer height and the following settings:
Wall Line Count = 4 ( 4 x 0.4mm = 1.6mm walls )
Top and Bottom Layer Count = 5 ( 5 x 0.2mm = 1.0mm top and bottom )
Infill = 40%, Cubic
Ironing = OFF (not needed)
Support = All required support is designed into this product
Brim = NO (a brim can complicate details of print-in-place parts and parts printed close together – If you have to use a brim, set it to “outside only”)
Material = Food grade PETG recommended (any material should work fine)
Print Orientation: As shown below.

Assembly Notes
No assembly or post-print processing is required.
Leave a Reply